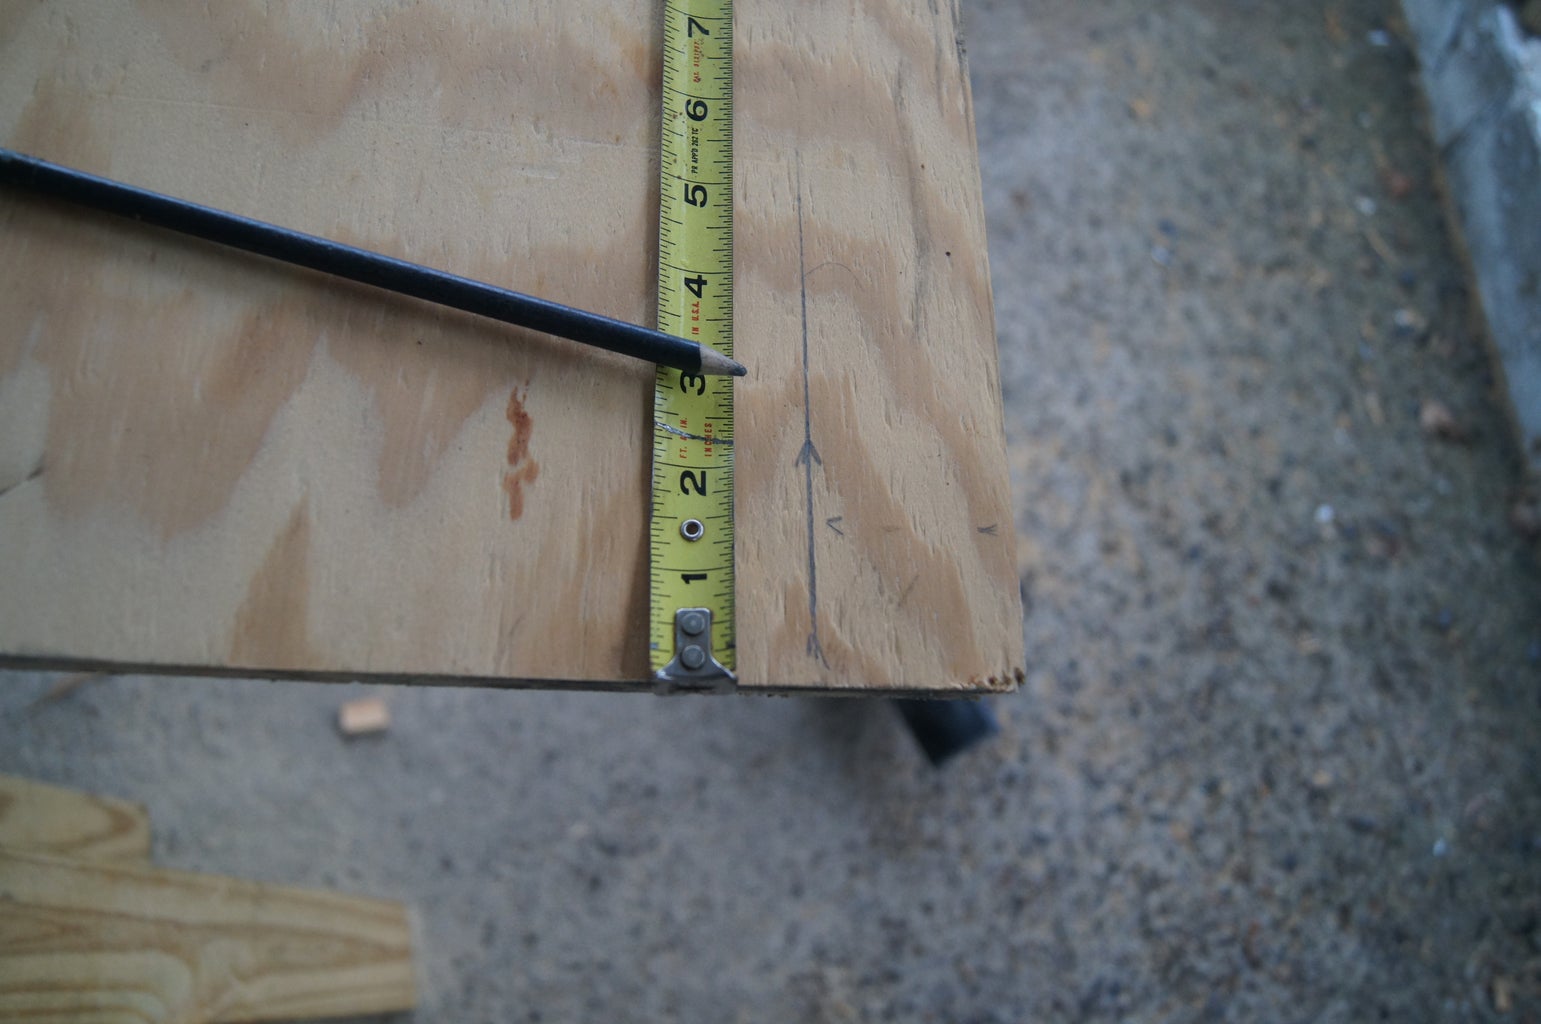
How to create a sleek in-wall gun cabinet with safety features

Building a Sleek and Secure In-Wall Gun Cabinet
Concealing your firearms while ensuring their safety is paramount for any gun owner. An in-wall gun cabinet seamlessly blends into your home's décor while providing a secure storage solution. This article will guide you through the process of building a sleek and secure in-wall gun cabinet, equipping you with the knowledge to create a safe haven for your firearms.
Planning Your In-Wall Gun Cabinet
Before you start swinging a hammer, meticulous planning is key. Begin by deciding on the location, size, and design of your in-wall cabinet.
Location Selection
Choose a location that is easily accessible for you but out of reach for children and unauthorized individuals. A closet, an unused corner, or behind a wall-mounted artwork could serve as ideal spots.
Size and Design Considerations
Determine the number of firearms and accessories you need to store. Measure the chosen location accurately and consider the thickness of the wall to ensure the cabinet fits. Choose a design that complements your home's aesthetic â€" a sleek, modern cabinet with a flush-mounted door can blend seamlessly with your décor.
Materials and Tools
You'll need:
- Sturdy plywood or MDF (medium-density fiberboard) for the cabinet structure
- Strong hinges and a quality lock with a keyed or electronic mechanism
- Wood screws, drywall screws, and construction adhesive
- A drill, saw, level, and measuring tape
- Paint or stain to match your décor
Building the Cabinet
With the plan in place, let's build your cabinet.
Cabinet Construction
Cut the plywood or MDF to the desired size for the cabinet's sides, top, bottom, and shelves. Secure these pieces together using wood glue and screws to create a sturdy frame. Attach the lock mechanism to the door, ensuring smooth opening and closing.
Installation
Cut an opening in the wall to accommodate the cabinet's dimensions. Secure the cabinet frame to the wall studs using drywall screws and construction adhesive for added support. If you are installing the cabinet in a wall without studs, use specialized wall anchors to ensure stability.
Securing the Cabinet
A sleek exterior doesn't mean compromising safety. Let's focus on locking mechanisms and additional security features.
Choosing the Right Lock
Invest in a high-quality lock with a keyed or electronic mechanism. Consider a combination lock for additional security. Opt for a lock with a strong latch and a reinforced door for added protection against forced entry.
Additional Safety Features
For enhanced security, consider:
- Motion sensors: Trigger an alarm or alert your smartphone if unauthorized movement is detected near the cabinet.
- Magnetic door contacts: Sound an alarm if the cabinet is opened without authorization.
- Concealed cameras: Provide visual evidence of any tampering attempts.
Finishing Touches
Now that the structure is built, it's time to make your in-wall gun cabinet aesthetically pleasing.
Finishing and Customization
Apply a coat of paint or stain to match your surrounding décor. Use a high-quality finish to protect the cabinet from moisture and wear. To further integrate the cabinet, use a similar material to the surrounding wall to create a seamless look.
Safety Considerations
Remember that safety is paramount when it comes to firearms. Always follow these precautions:
- Store your firearms unloaded and separate from ammunition.
- Use cable locks to secure your firearms inside the cabinet.
- Keep the key or code for your cabinet in a secure location, out of reach of unauthorized individuals.
- Regularly inspect your cabinet for any signs of damage or wear, and replace any components as needed.
Conclusion
By meticulously planning, constructing, and securing your in-wall gun cabinet, you'll create a safe and discreet storage solution for your firearms. Remember that proper security measures are essential to protect your firearms and prevent unauthorized access. Enjoy peace of mind knowing your firearms are safely tucked away within the walls of your home.
0 comments:
Post a Comment
Note: Only a member of this blog may post a comment.