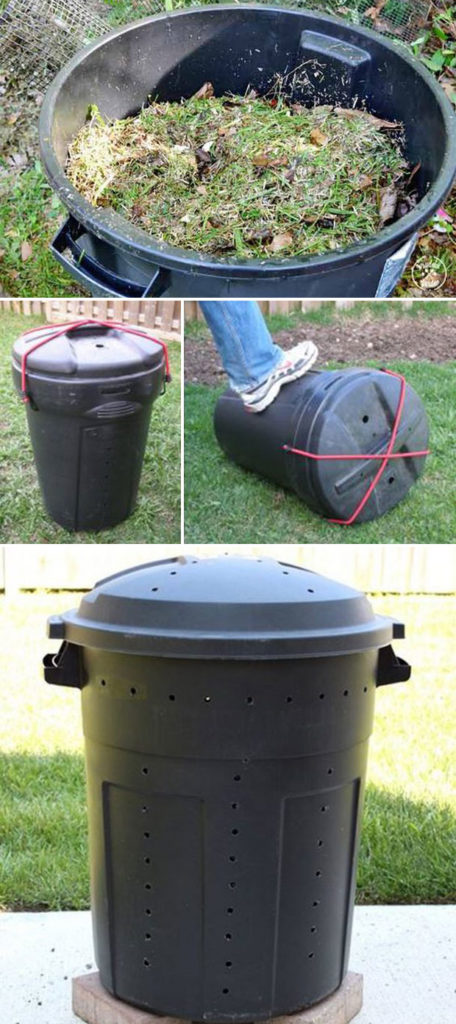
How to Make a Backyard Compost Bin: Downloadable Guide

Build Your Own Backyard Compost Bin: A Step-by-Step Guide
Transform your garden waste into nutrient-rich compost with a homemade compost bin. This simple project requires basic materials and minimal tools, and you’ll reap the rewards of a healthy, thriving garden. This guide will walk you through building your own compost bin step-by-step, making it easy for you to create a sustainable solution for your yard waste.
Gather Your Materials
Before you begin, gather the necessary materials. You’ll need:
- Four 4x4 wooden posts (about 8 feet long) or any sturdy posts you prefer.
- Chicken wire or hardware cloth (enough to cover the entire bin area, plus a little extra for overlap).
- Staples or wire ties to secure the wire.
- Heavy-duty staples or nails for attaching the wire to the posts.
- Measuring tape.
- Level.
- Safety glasses.
- Gloves.
- Hammer or staple gun.
- Saw (optional, to cut the posts to size).
Choosing a Location for Your Compost Bin
Select a spot in your backyard that receives some shade and is easily accessible. Ideally, choose a location that doesn’t get too much direct sunlight, as this can dry out the compost. Ensure it’s near a water source for easy watering, and consider the wind direction to prevent the compost from blowing around.
Building the Compost Bin Structure
Now, it’s time to build the frame for your compost bin. Follow these steps:
Step 1: Prepare the Posts
Start by cutting the posts to the desired height of your compost bin. For a standard bin, aim for a height of 4-5 feet. Remember to account for any sinking into the ground when determining the final height.
Step 2: Mark and Dig Holes
Using a measuring tape, mark the location for your compost bin. Dig four holes for the posts, spaced evenly around the bin area. The holes should be deep enough to bury the posts at least 1 foot into the ground for stability.
Step 3: Secure the Posts
Carefully place the posts into the holes and level them using a level. To ensure the posts stay in place, fill the holes with soil or concrete mix.
Step 4: Attach the Chicken Wire
Cut the chicken wire or hardware cloth to the size of your bin, ensuring it overlaps slightly on each side. Carefully attach the wire to the posts using staples or wire ties. Start at the bottom and work your way up, making sure the wire is taut and secure.
Composting Basics: Tips for Success
Now that your bin is built, it’s time to understand the basics of composting. Here’s what you need to know:
1. The Right Mix
A healthy compost pile needs a balance of “greens†(nitrogen-rich materials like kitchen scraps and grass clippings) and “browns†(carbon-rich materials like dry leaves, twigs, and cardboard). Aim for a ratio of roughly 2 parts browns to 1 part greens.
2. Moisture and Air
Compost thrives in moist, well-aerated conditions. Water your compost regularly, especially during dry weather, and turn it periodically to ensure proper air circulation.
3. Patience
Composting is a process that takes time. Depending on the conditions and your bin’s size, it can take anywhere from a few weeks to several months for your compost to fully decompose. Keep adding materials regularly, and you’ll soon be reaping the benefits of your homemade compost.
Enjoy the Rewards
With your homemade compost bin, you’ll be surprised at how quickly you can turn your garden waste into valuable compost. This nutrient-rich soil will enrich your garden beds, boosting plant growth and yielding a bountiful harvest.
0 comments:
Post a Comment
Note: Only a member of this blog may post a comment.